I recently had the pleasure of working with Dayus Roofing and I can't express enough how impressed I am with their service and professionalism! From the initial consultation to the final inspection, the entire process was seamless and stress-free.
The team at Dayus Roofing was incredibly knowledgeable and took the time to explain every step of the roofing project. They provided a detailed estimate and were transparent about materials, timelines, and costs, which I truly appreciated. Their commitment to quality and customer satisfaction was evident from day one.
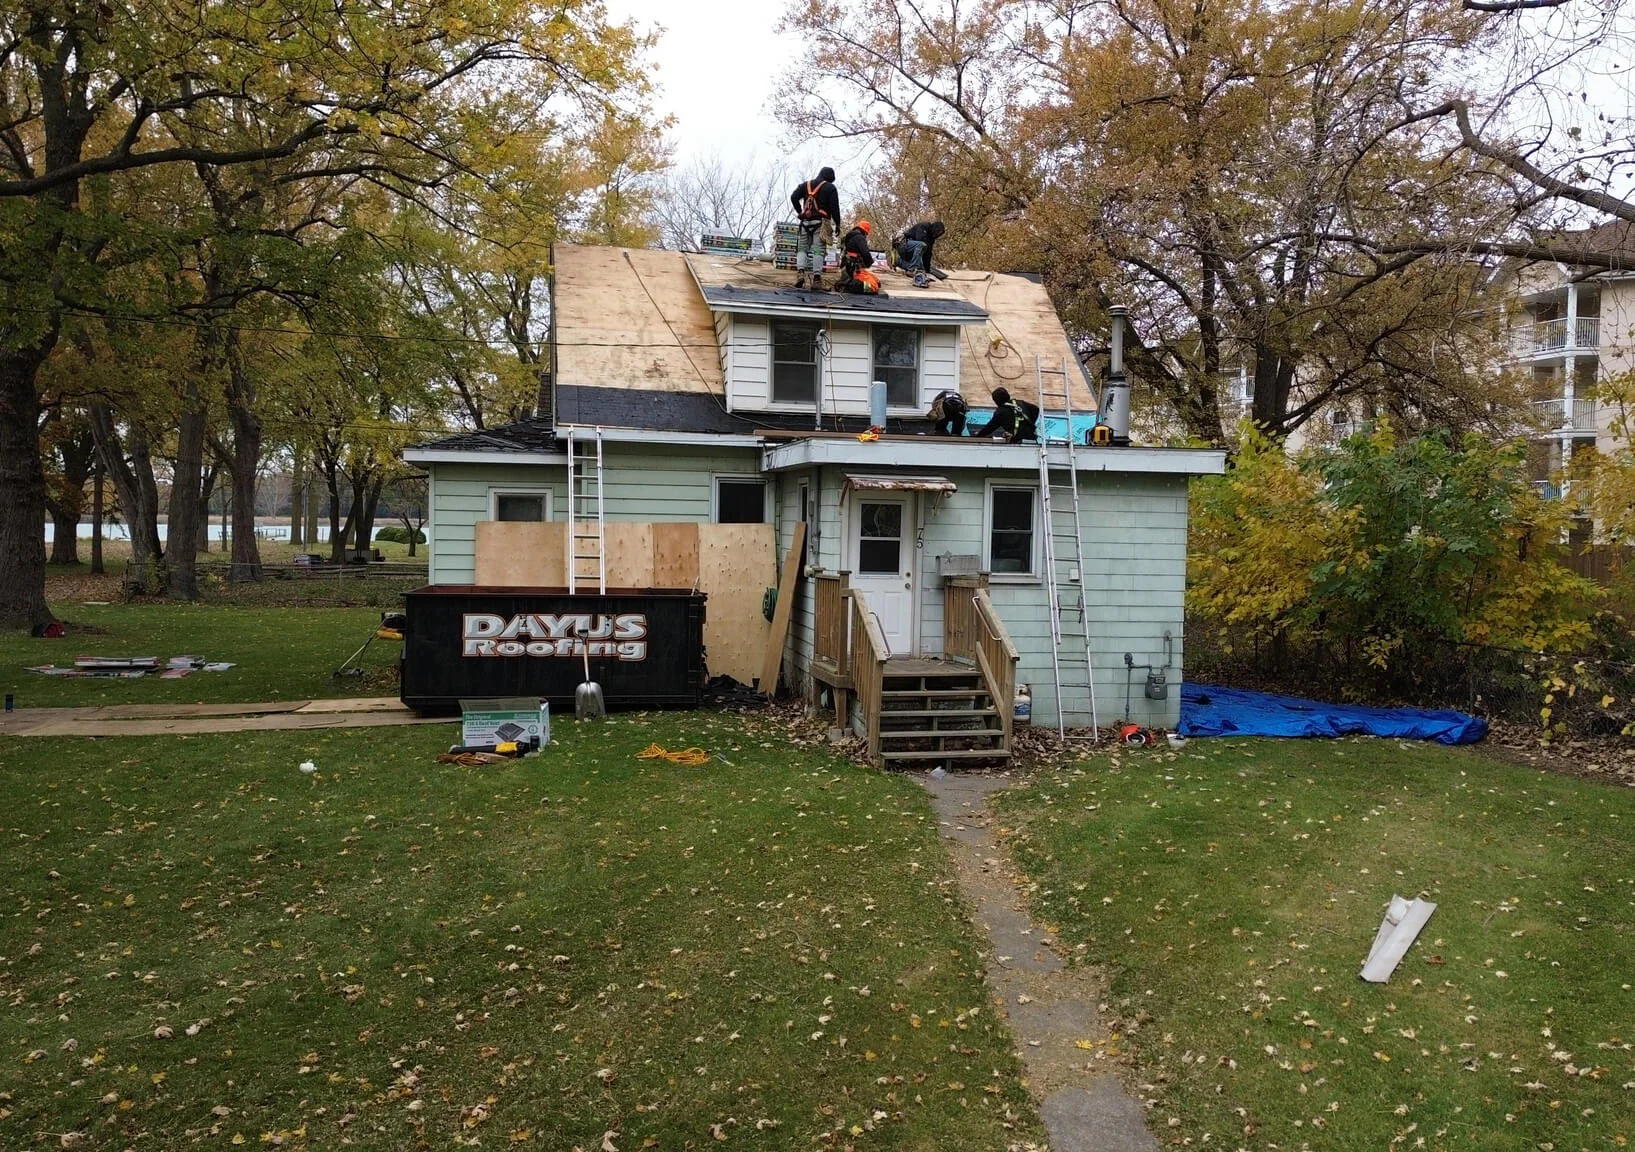
When the work began, I was amazed at how efficiently the crew operated. They were punctual, respectful, and maintained a clean worksite throughout the project. The craftsmanship is top-notch, and the attention to detail is commendable. My new roof not only looks fantastic, but I also feel confident knowing it will stand the test of time.
What truly sets Dayus Roofing apart is their dedication to their customers. They went above and beyond to ensure I was happy with the outcome, and they followed up after the job was completed to make sure everything was to my satisfaction.
If you're in need of roofing services, I wholeheartedly recommend Dayus Roofing Inc. Their expertise, reliability, and outstanding customer service make them a cut above the rest. Thank you, Dayus Roofing, for transforming my home and providing such an excellent experience!