Proper attic ventilation represents one of the most misunderstood yet critical factors affecting your roof’s performance and lifespan. Despite common misconceptions, more ventilation isn’t always better—balanced airflow requires precise calculation and strategic placement. Many contractors miscalculate ventilation requirements or add excessive vents at homeowner requests, disrupting the carefully engineered airflow patterns necessary for optimal performance.
Improper ventilation can trigger numerous serious problems including ice damming, sheathing deterioration, mold growth, condensation issues, and premature roofing failure. The primary ventilation functions change with the seasons: during winter months, ventilation maintains cold roof temperatures to prevent ice dam formation and exhausts moisture that migrates from living spaces; during summer, it expels solar-heated air to reduce cooling loads and extend shingle life.
Proper ventilation prevents warm interior air from creating uneven roof temperatures. When sections of your roof warm above freezing while eaves remain cold, melting snow refreezes at the roof edge, creating damaging ice dams that force water beneath shingles.
Attic temperatures can reach 150°F during summer months, dramatically accelerating shingle deterioration and increasing cooling costs. Proper ventilation can reduce attic temperatures by 40°F or more, extending roof life and improving energy efficiency.
Take your attic’s square footage and divide it by 300 to determine how many square feet of net free ventilation area (NFVA) you need.
Example: 1200 sq. ft. ÷ 300 = 4 sq. ft. of NFVA
Multiply the square footage of NFVA by 144 to convert it to square inches.
4 sq. ft. × 144 = 576 sq. in. of NFVA
Divide the total NFVA evenly between the soffit (intake) and the ridge (exhaust).
Example: 288 sq. in. for intake / 288 sq. in. for exhaust
Use your required NFVA to determine how many vents
Proper ventilation design requires expert knowledge of building science principles and your home’s specific requirements. Professional assessment ensures you receive the appropriate ventilation solution that balances performance, energy efficiency, and roof protection throughout all seasons.
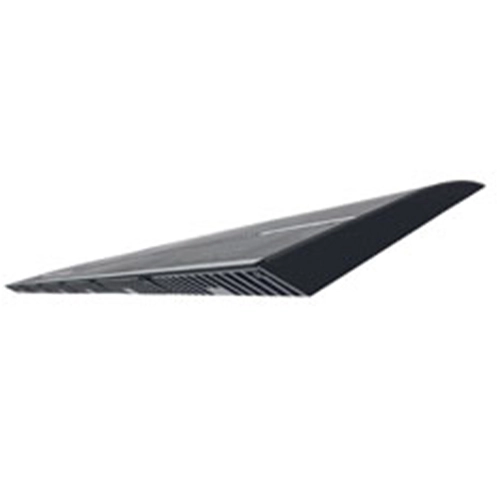
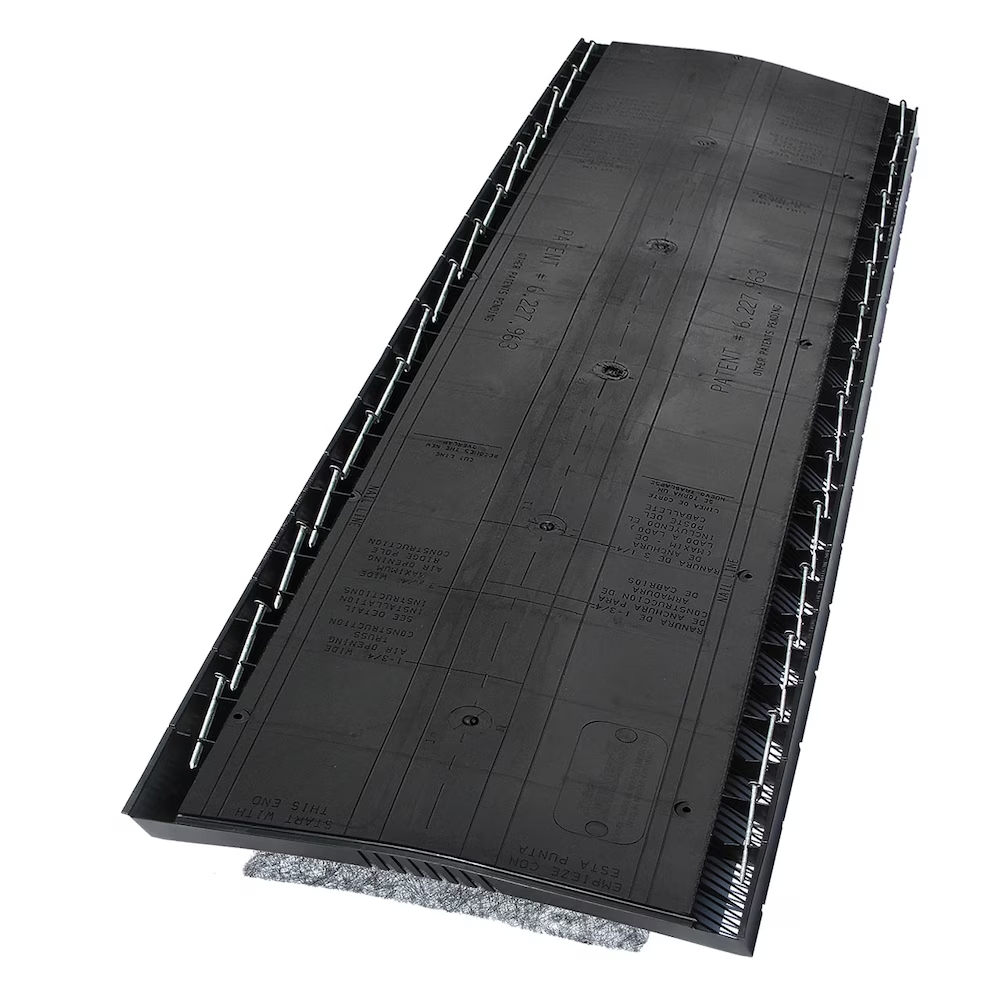
This innovative intake ventilation solution addresses homes with limited or no overhang, where traditional soffit ventilation cannot be installed. The roof-top installed, shingle-over design provides 9 square inches of net free area per linear foot while maintaining aesthetic appeal. These systems can supplement existing soffit vents or provide complete intake ventilation for homes where conventional options aren't feasible.
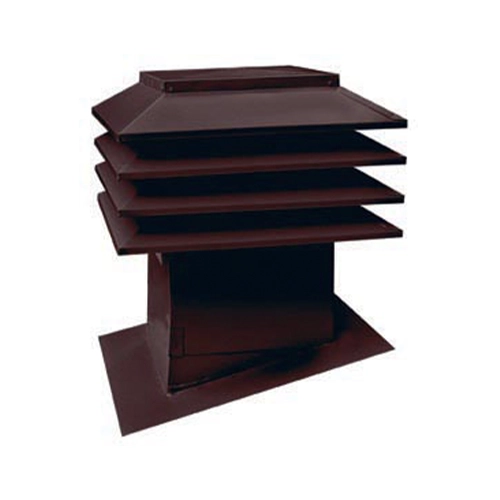
Unlike traditional turbines that require rotation, these static ventilators use a storm-proof deflector system to prevent water infiltration while capturing wind flow from all directions. Their distinctive design creates a "chimney effect" that draws moisture and stale air outward even in low wind conditions as mild as 4 mph. The elevated baffle design makes these particularly valuable in snowy climates, maintaining ventilation function even when snow accumulates on the roof surface.
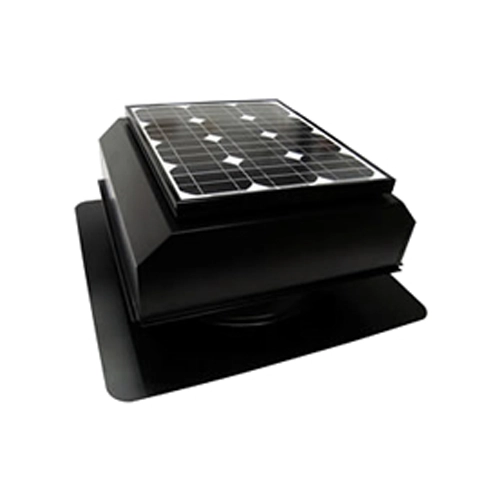
State-of-the-art solar ventilation systems monitor both temperature and humidity, automatically adjusting operation to optimize attic conditions. Their whisper-quiet, 14-inch aluminum fan blades can ventilate up to 2,500 square feet of attic space without electrical connections or operating costs. While initial investment exceeds traditional passive systems, lifetime warranties and ongoing energy savings provide long-term value through reduced cooling costs and extended roof life.
The Federal Housing Administration (FHA) recommends providing 1 square foot of net free ventilation area (NFVA) for every 300 square feet of attic space. This measurement is based on the interior attic space (within the warm walls of the home) and does not include roof overhangs.
The table below shows the estimated number of vents required for different attic sizes using the most common types of roof ventilation.
Note: All manufacturers’ calculations may vary slightly. This chart is intended to be used as a general guideline only.
| Attic Area (sq. ft.) |
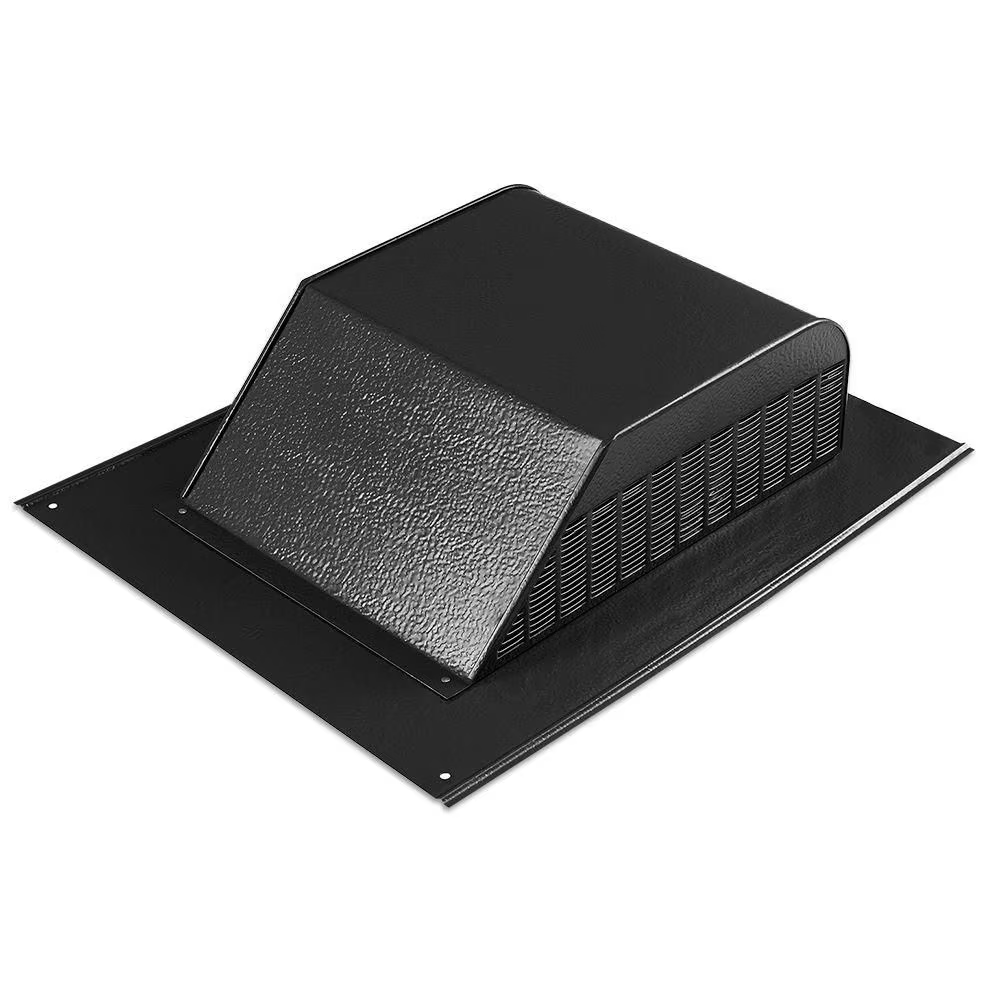
Static Vents (60 sq. in. NFVA) |
12" Turbines | GAF Snow Country Ridge Vent (in. ft.) |
Power Vents |
|---|---|---|---|---|
|

|
|

|
|
| 1000 | 4 | 2 | 14 | 1 |
| 1500 | 6 | 2 | 21 | 2 |
| 2000 | 8 | 3 | 28 | 2 |
| 2500 | 10 | 4 | 35 | 3 |
| 3000 | 12 | 4 | 42 | 3 |
| 3500 | 13 | 5 | 49 | 4 |
Delivering expert roofing solutions and reliability to Windsor-Essex homes and businesses since 1920.
5120 Halford Drive Oldcaste, Ontario N9G 0B8
Copyright © 2025 Dayus Roofing All rights reserved.